Essential Roof Flashing Guide to Protect Your Home
Introduction: Your Roof's Unsung Hero
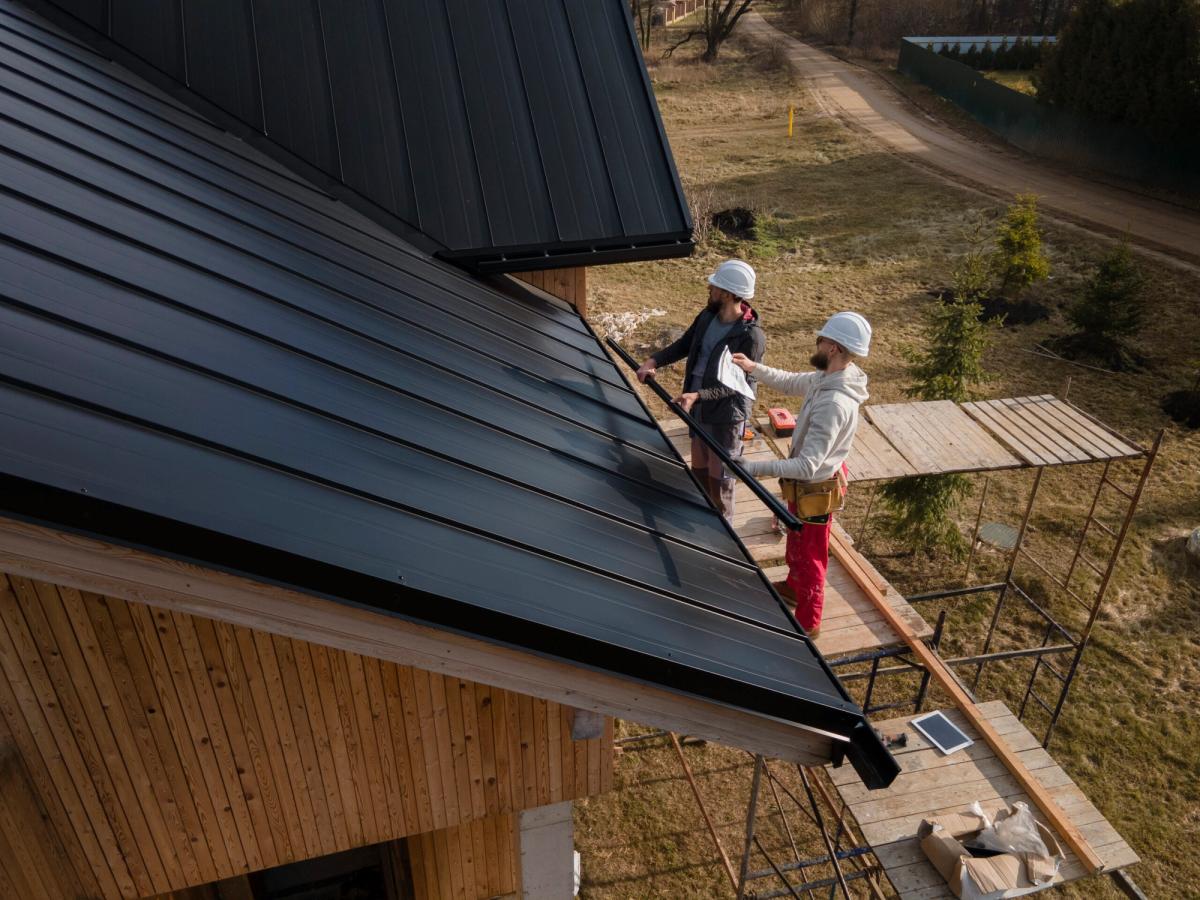
Roof flashing is your home’s first line of defense against leaks. It’s not just another roofing component - it’s what keeps water from seeping into those critical junctions where most leaks begin. Flashing protects vulnerable areas of the roof by redirecting water and preventing leaks that could compromise the roof's structural integrity. After installing flashing on thousands of homes across Montana, Wyoming, Utah, and Idaho, we know exactly how this unsung hero protects your most valuable investment. As an experienced roofing contractor, we ensure that flashing is installed and maintained to the highest standards, safeguarding your home for years to come.
Roof flashing is your home’s first line of defense against leaks. It’s not just another roofing component - it’s what keeps water from seeping into those critical junctions where most leaks begin. Flashing protects vulnerable areas of the roof by redirecting water and preventing leaks that could compromise the roof's structural integrity. After installing flashing on thousands of homes across Montana, Wyoming, Utah, and Idaho, we know exactly how this unsung hero protects your most valuable investment. As an experienced roofing contractor, we ensure that flashing is installed and maintained to the highest standards, safeguarding your home for years to come.
Types of Roof Flashing: The Right Tool for the Job
Just like a carpenter needs different saws, your roof needs different flashing types for various situations. Different roofing materials and roofing systems require specific types of flashing to ensure compatibility and long-term durability. The choice of flashing must match the roofing system and roof materials to provide effective waterproofing and protection.
Custom flashing is often fabricated to fit unique roof features or complex intersections. Selecting the right roof flashing sizes and roof materials is essential for a proper fit and to maintain a watertight seal, ensuring the overall effectiveness of the roofing system.
The Flashing Family
- Step Flashing: Interlocking L-shaped pieces that create a waterproof staircase where roofs meet walls
- Counter Flashing: The protective cap that covers step flashing on chimneys and walls
- Valley Flashing: The V-shaped channel that guides water through roof valleys
- Drip Edge: The metal trim that directs water into gutters instead of under your roof
- Chimney Flashing: Custom-fitted armor for your chimney’s base
- Apron Flashing: The wide protector for roof-to-wall transitions
- Gutter Apron Flashing: Specialized flashing installed under shingles and over the gutter to protect eaves and roof edges from water infiltration, creating a water-resistant barrier that prevents leaks and water damage.
- Kickout Flashing: A specialized type of flashing positioned at roof edges where step flashing ends and the gutter begins, designed to direct rainwater away from siding and into gutters. It is crucial to install kickout flashing at the correct location to prevent water from seeping behind siding and ensure effective waterproofing.
- Headwall Flashing: Metal flashing, typically L-shaped, installed where the roof meets a vertical wall or headwall to prevent water intrusion at this intersection.
- Wall Flashing: Essential flashing at roof-to-wall joints, including step flashing and additional layers, to prevent water infiltration and direct water away from vulnerable areas.
At Roof Rescue, we often cut custom flashing on-site using sheet metal and tinning snips. Why? Because every home in our Rocky Mountain service area has unique angles and exposures that premade pieces just can’t accommodate perfectly. That Jackson Hole cabin with the steep pitch? It needs different flashing than your Bozeman bungalow.
Materials Matter: Choosing Your Flashing Armor
The Flashing Material Showdown
Here in the Intermountain West, we typically recommend galvanized steel for most homes - it offers the perfect balance of durability and value for our variable climate. For your Park City mountain retreat? Copper flashing provides that extra protection against heavy snowfall while developing a beautiful patina over time.
Critical Flashing Areas: Where Protection Matters Most
1\. Chimney Flashing: The Leak Magnet
Your chimney might look sturdy, but it’s actually one of your roof’s most vulnerable spots. Proper chimney flashing includes:
- Base flashing sealed to the roof to create a watertight seal around the chimney base
- Step flashing along the sides, installed where the shingles butt against the chimney to prevent water intrusion
- Counter flashing embedded in mortar
- Cricket flashing on the uphill side (for wider chimneys)
Correct installation of chimney flashing at these junctions helps prevent roof leaks by sealing vulnerable areas where water can enter.
We once responded to an emergency in Idaho Falls where improper chimney flashing had allowed water to seep into the walls for months - the repair bill was five times what proper installation would have cost.
2\. Drip Edge: Your Eaves' Best Friend
That metal strip along your roof’s edge isn’t just decorative - it’s crucial for:
- Directing water into gutters by using drip edge flashing installed along the roof's edge, which helps protect the roof decking from water infiltration
- Preventing wind-driven rain from lifting shingles
- Protecting wood from rot
- Keeping pests from nesting under your roof
3\. Valley Flashing: The Riverbed of Your Roof
Where two roof slopes meet, valley flashing creates a water channel that can handle:
- Spring runoff in Montana
- Heavy thunderstorms in Utah
- Rapid snowmelt in Wyoming
Open roof valleys require specialized metal flashing to properly direct water flow and prevent leaks, especially when using materials like luxury shingles, synthetic shingles, or cedar shakes.
Without it, these intersections become debris collectors that can back up water under your shingles. Damaged flashing in roof valleys can allow water to penetrate at the junction where roof slopes meet, leading to leaks and water damage. It is important to inspect and repair roof flashing promptly to maintain effective roof protection.
Installation: Why Precision Matters
Installing flashing isn’t just nailing metal to your roof - it’s an art form that requires understanding how water moves. To install roof flashing correctly, it’s essential to follow best practices to prevent leaks and protect your roof deck and roof surface from water intrusion. Roof pitch also plays a crucial role, as steeper or lower pitches may require different flashing types and installation methods. During a roof replacement, always replace old flashing to ensure long-term protection and prevent future leaks. Here’s what proper installation looks like:
For step flashing:
1\. Each piece must overlap the one below by at least 3”
2\. Nails go only through the horizontal flange (never into the vertical wall)
3\. Flashing should extend at least 2” beyond the shingle exposure—ensure the flashing surface covers past the shingle edge for proper waterproofing
4\. Sealant goes under the flashing - not on top where it can trap moisture
5\. Make sure each piece of step flashing is properly positioned relative to the roof deck to create a watertight seal
Our Golden Rule: Flashing should always direct water away from vulnerable areas, never toward them. We’ve fixed too many “DIY disasters” where well-meaning homeowners created water traps instead of water solutions.
Cost Considerations: Investing in Protection
Roof flashing cost can vary widely based on several factors, including the type of materials used, the size and complexity of your roof, and local labor rates. When considering how much does roof flashing cost, homeowners can expect a typical price range of $300-$1,500 depending on:
- Roof complexity (multiple valleys and penetrations increase cost)
- Material choice (copper vs. galvanized steel
- Accessibility (steep roofs take more time
- Local labor rates ($75/hour average in our service area)
At Roof Rescue, we’re transparent about costs from the start. A typical flashing replacement during a roof installation services might add:
- $150-$300 for chimney flashing
- $100-$200 for valley flashing
- $2-$4/linear foot for drip edge
Flashing cost for repairs or installation is influenced by these variables, so it’s important to get a detailed estimate for your specific situation.
Remember: What seems like a high upfront cost for quality flashing is always cheaper than repairing water damage later. We recently repaired a Logan home where improper flashing caused $15,000 in structural damage - more than triple what proper installation would have cost.
Maintenance: Your Annual Flashing Checkup
Think of flashing maintenance like dental cleanings - skip them and you’ll pay more later. Regular roof maintenance, including thorough flashing inspections, helps prevent costly repairs and extends the life of your roof. Here’s our recommended routine:
Spring:
- Check for winter ice damage
- Inspect sealant around flashings
- Clear debris from valleys
Fall:
- Ensure flashings are secure before winter
- Check for gaps where pests could enter
- Verify drip edges are clear
After Major Storms:
- Look for dents from hail
- Check for wind damage
- Verify no debris impact
During our annual maintenance visits in the Twin Falls area, we consistently find that catching small flashing issues early prevents 90% of major leaks.
Common Mistakes We See (And How to Avoid Them)
After a decade in the business, we’ve seen every flashing mistake imaginable. Improper flashing installation is one of the leading causes of roof leaks, as it leaves vulnerable areas like valleys, chimneys, and vents exposed to water infiltration.
1\. The “Caulk Cop-Out”: Using sealant instead of proper flashing
- Solution: Flashing first, sealant as backup only
2\. Mismatched Metals: Combining aluminum and steel (causing galvanic corrosion)
- Solution: Stick with one metal type throughout
3\. Shortcut Step Flashing: Using single pieces instead of overlapping
- Solution: Always install individual step pieces with each shingle course
4.Nail Blunders: Fastening through vertical flanges
- Solution: Nail only through horizontal surfaces
5\. Improper Overlaps: Installing flashing under instead of over adjacent materials
- Solution: Remember: water flows downhill - flashings should overlap accordingly
When to Call the Professionals
While some roofing tasks are DIY-friendly, flashing installation requires expertise. It’s essential to hire experienced roofing contractors or a professional roofing contractor for these jobs, as their specialized skills ensure proper installation, weatherproofing, and compliance with building codes. Call professionals when:
- You’re working near roof edges or steep pitches
- Dealing with complex intersections (chimneys, skylights, valleys)
- Matching specialty materials like standing seam metal
- Installing in cold weather (requires specific sealants)
A roofing professional brings the knowledge and craftsmanship needed to ensure your flashing is installed correctly and your roof is fully protected.
As Owens Corning Platinum contractors licensed in four states, we bring specialized training to every flashing job. Our crews know that what looks simple on YouTube becomes dangerously complicated on a 8:12 pitch roof in January winds.
Conclusion: Your Home's Waterproof Guardian
Roof flashing might be invisible once installed, but its protection is always working. From the heavy snows of Montana to the wind-driven rains of Wyoming, proper flashing is what keeps your home dry through every season.
At Roof Rescue, we've seen how quality flashing installation adds years to your roof's lifespan. Whether you're building new or maintaining an existing roof, remember: what you can't see matters most. Those thin metal strips are your home's silent protectors - invest in them wisely.
"Proper flashing is like quality insurance - you never notice it until you need it, and then you're incredibly grateful you have it." - Mark Franklin, Roof Rescue Owner
About the Author

Mark Franklin
Roof Rescue Owner
Mark Franklin, owner of Roof Rescue in Idaho Falls, Idaho, has been a trusted name in roofing since 2014. Serving Idaho, Montana, Wyoming, and Utah, Roof Rescue specializes in commercial and residential roof replacement and installation. Recognized for community initiatives like the "Operation Roof Rescue" program, which provides free roofs to local heroes, Mark combines professionalism with a passion for giving back. With 16 years of industry experience, an A+ Better Business Bureau rating, and glowing customer reviews, Mark's leadership embodies quality and community-focused service.
Related Posts

How to pick the right roofing companies in Idaho Falls
Picking a roofer shouldn’t feel like roulette. You want someone who shows up, does the work right, and backs it up. Idaho Falls has plenty of options, and that’s the problem. The good ones blend in w...

What Is the Lowest Pitch for a Shingle Roof? Key Insights Explained
Introduction to Roof Pitch and Slope If you have ever wondered what is the lowest pitch for a shingle roof, the answer matters more than you might think. Your roof slope decides which roofing mat...

Minimum Slope for Metal Roof
The Critical Angle: Minimum Slope for Metal Roof At Roof Rescue in Idaho Falls, we’ve seen how the smallest details can make the biggest difference in a roof’s performance. When it comes to [meta...